Last updated November 22, 2026
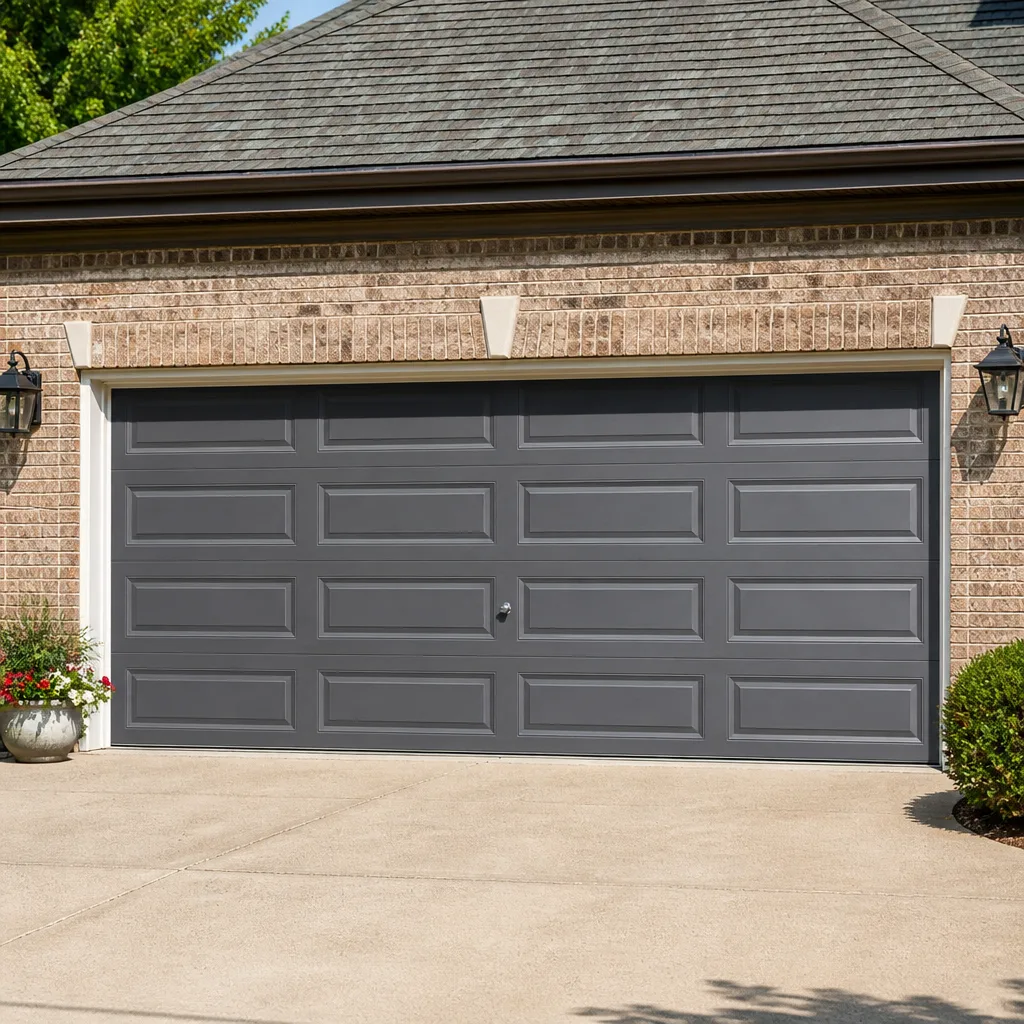 Raised-panel steel
 Carriage house
 Modern flush
 Full-view glass
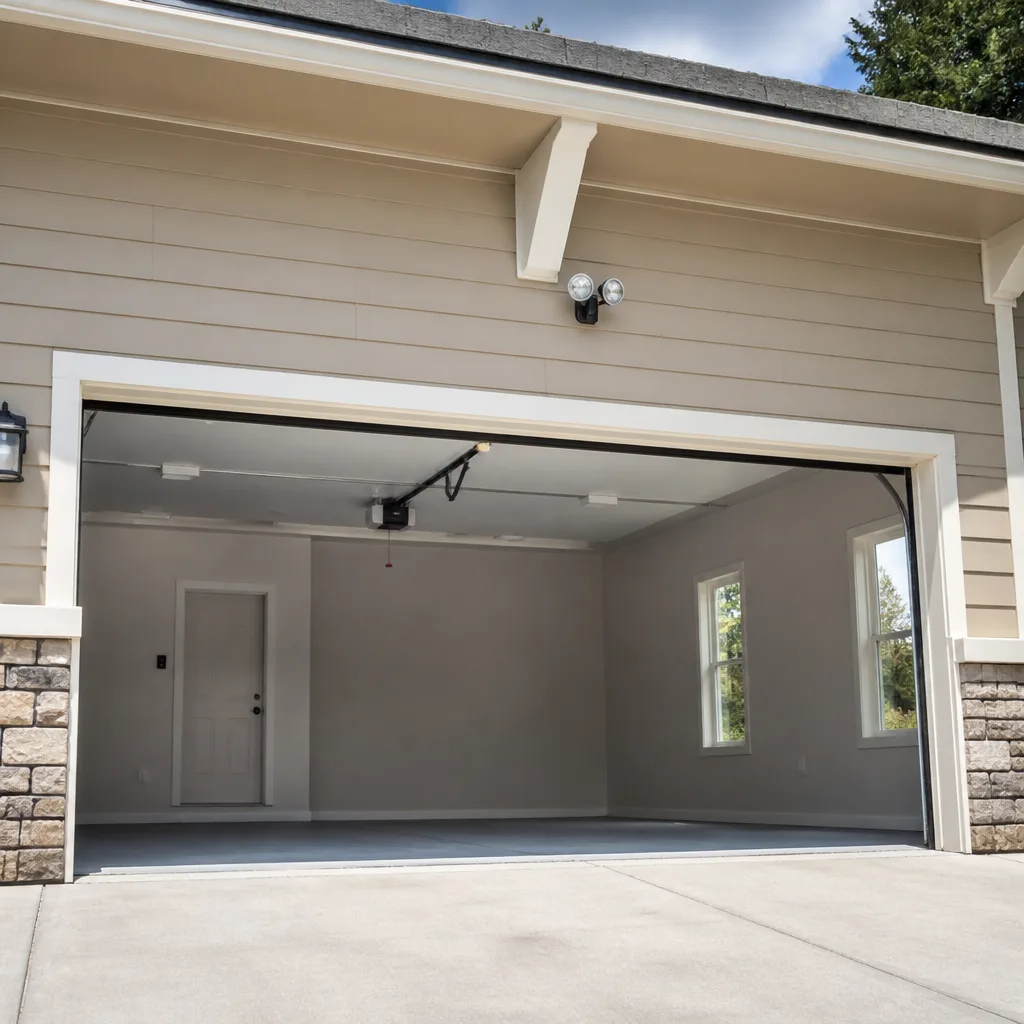 LiftMaster openers
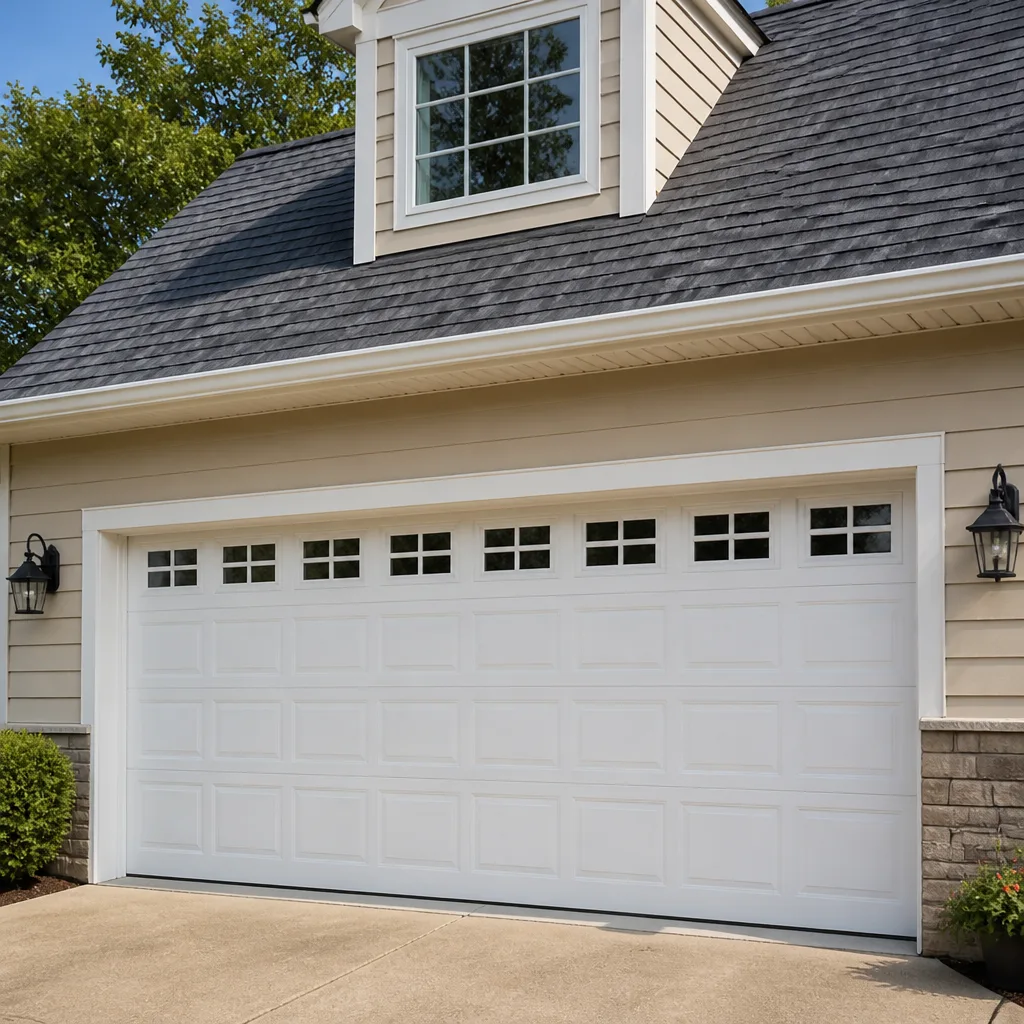 Chamberlain openers
Full 25-point door and opener safety check with every visit - springs, cables, rollers, tracks, and your LiftMaster or Chamberlain opener included
You get a price before we start. It does not change when the pro arrives.
Get your free estimateGarage Door Repair Maintenance Checklist for Cutler Bay Homeowners
Most Cutler Bay garage doors don’t fail early because people ignore them. They fail because the maintenance advice people follow was written somewhere else. Checklists built for a dry climate skip the parts that matter most in Cutler Bay’s humidity and storm seasons. Springs, hinges, and opener circuit boards all age differently in South Florida than they do in a place with four mild seasons. This guide lays out a checklist sequenced for the way doors actually wear here: what to check monthly, what to do before storm season, how to spot spring fatigue before it snaps, and which lubricants hold up in a hot, wet garage. It’s written from Cutler Bay, for Cutler Bay homeowners.
Quick Answer
A garage door maintenance checklist for Cutler Bay should prioritize corrosion checks at hinges, bottom brackets, and torsion bar ends, a spring fatigue inspection before storm season, and lubrication that won’t wash out in heat and humidity. A door here needs the same monthly glance you’d give it anywhere, plus a yearly pre-hurricane pass on manual release and wind-load hardware. Most garage door repairs we see in Cutler Bay trace back to one skipped seasonal task.
Styles & brands we work with
- Raised-panel steel
- Carriage house
- Modern flush
- Full-view glass
- LiftMaster openers
- Chamberlain openers
Table of Contents
- The Monthly Five-Minute Inspection
- Corrosion Inspection Points Every Cutler Bay Homeowner Should Know
- Lubricants That Actually Hold Up in South Florida Heat
- Pre-Hurricane Season Checklist for Your Garage Door
- How to Spot Spring Fatigue Before It Becomes a Snap
- Opener Maintenance in a Humid Garage
- Testing Balance and Safety Reverse
- Common Mistakes to Avoid
- When to Call a Professional
The Monthly Five-Minute Inspection
You can catch most garage door problems in about five minutes a month, with no tools. The trick is knowing where to look and what “normal” looks like versus what deserves a call. For a Cutler Bay door, this monthly walk-through is the foundation of everything else in this guide.
Here’s the routine we recommend to homeowners we work with:
- Open and close the door once and listen. A healthy door is steady and quiet. Grinding, scraping, or a rhythmic clunk means something has shifted or worn.
- Look at the springs above the door. One of them should never look different from the other. Rust streaks or uneven gaps are early warning signs.
- Run your eyes down both hinge lines. Any hinge that jiggles when you nudge it is loose and worth tightening.
- Check the bottom seal. In Cutler Bay, a torn or flattened seal lets in heat, moisture, and pests. It’s the cheapest part to replace and one of the most consequential.
- Wipe a finger across one track and check for grit or grease buildup. The track should be clean and dry.
- Glance at the opener motor housing for any sign of moisture, condensation, or insect activity near the vents.
Five minutes is the whole thing. The value isn’t in doing more, it’s in doing it consistently. A loose hinge caught in month one is a tightening job. The same hinge caught in month eight is often a bent track and a panel that won’t sit flush. If you’d rather not do it yourself, that’s a fine reason to book a service visit, but the monthly glance is genuinely something most homeowners can handle.
Corrosion Inspection Points Every Cutler Bay Homeowner Should Know
The three corrosion hotspots on a Cutler Bay garage door are the hinges, the bottom brackets, and the ends of the torsion bar. Airborne moisture and everyday humidity attack those points first because they’re where bare metal is exposed and where water collects. Checking them monthly is the single most valuable habit you can build in this climate.
Here’s what to look for and why each spot matters:
- Hinges: Look for orange-brown staining around the pin and a chalky white residue on the leaves. Rust on a hinge means the pin is wearing faster than it should. If you can see surface rust, the hinge has been wet for a while.
- Bottom brackets: These sit low, close to the slab, where water from washing the floor or a wet car drains past. Any bubbling paint or rust on the bracket means the fastener below it may be degrading too. Bottom brackets are under high tension from the cables, so treat this as a call-a-professional check if you see serious rust.
- Torsion bar ends: Look at the two ends of the torsion bar at the top corners of the frame. Rust rings, pitting, or a crusty deposit on the bearing plate are early signs the bar is binding. A binding bar puts extra load on the springs and eventually wears the bearings out.
We also recommend checking the roller stems and the track mounting bolts monthly for the same reason. Anywhere bare metal meets a fastener is fair game for corrosion in South Florida’s climate. A quick wipe with a dry cloth and a dab of appropriate lubricant on the pivot points slows the process substantially. What you’re really checking is change. A hinge that’s looked the same for six months is fine. A hinge that’s gone from silver to rusty in one month deserves a closer look.
Lubricants That Actually Hold Up in South Florida Heat
Standard white lithium grease is the wrong product for most garage doors in Cutler Bay. It thins in the heat of a garage that can reach well past 100 degrees inside, it attracts grit that turns into a grinding paste, and once it hardens, it flakes off and leaves the moving parts bare. What you want instead is a garage-door-specific lubricant in a spray can, or a silicone-based spray where grease isn’t appropriate.
Here’s the working rule we give homeowners:
- Hinges, rollers, and pivot points: Use a garage-door lubricant labeled for hinges and rollers. Apply to the hinge pin and the roller stem, not to the roller wheel itself. The wheel is what rolls on the track; the stem is what needs the lubrication.
- Tracks: Do not grease them. Clean them with a dry cloth. Grease in a track is a magnet for grit and grit is what makes a door chatter.
- Springs: A dry lubricant spray can slow surface rust on the spring coils. Never apply grease near the spring because it will hold dust that abrades the wire.
- Opener chain or belt: Follow the manufacturer’s guidance for your specific brand. Modern LiftMaster and Chamberlain units often use a belt that doesn’t need grease at all, while older Craftsman and Genie chain drives may call for a light application.
A final point on frequency: in Cutler Bay’s humidity, lubrication dries out faster than it would in a dry climate. Plan on re-applying every three to four months rather than twice a year. If your door has an unusual number of cycles, like a household that comes and goes a lot, go monthly. Lubrication is cheap. Replacing a track because the door was grinding along it for six months is not.
Pre-Hurricane Season Checklist for Your Garage Door
Your garage door is the largest opening on your house and the one that takes wind load first. Before hurricane season arrives, four things need testing: the manual release, the wind-load hardware, the strut integrity, and the overall balance of the door. This routine should be done every spring, ideally before June.
Here’s the full sequence:
- Test the manual release. With the door down and the opener disengaged, pull the emergency release cord. The door should operate freely by hand. If you can’t lift it easily, the springs need attention. Re-engage the opener when you’re done.
- Inspect the wind-load hardware. Look at the vertical strut across the top panel, the hinges along the vertical seam, and the anchor plates at each corner. Any bent strut, missing fastener, or bent hinge is a wind-load concern. Reinforced hardware matters for doors built to a design pressure rating.
- Check the strut integrity. Run a straight edge along the strut at the top of the door. Any bowing or kinking in the strut means the panel above is no longer fully supported. This is not the sort of thing to talk yourself out of. A bent strut needs professional attention before it’s load-bearing again.
- Verify panel alignment. All door sections should line up square. A panel that has slipped its track or shows a visible gap at the edges means the door is out of balance, and it won’t seat properly under wind pressure.
- Run the safety reverse test. Put a two-by-four on the ground under the door, close it, and confirm the door reverses on contact. If it doesn’t, stop and call us. A door that won’t reverse is a safety issue regardless of season.
The bottom line is that a well-balanced, well-secured door does its part in storm season. A neglected one puts the whole opening at risk. If anything in this checklist doesn’t check out, or you’re not sure what you’re looking at, our garage door repair team can inspect the door and give you a clear read on what’s needed.
How to Spot Spring Fatigue Before It Becomes a Snap
Springs on a Cutler Bay door usually show signs of fatigue for weeks or months before they break. The visual tells are a widening gap between coils on a torsion spring, a stretched look on an extension spring, and rust streaks on the coil wire. The behavioral tell is a door that feels heavier or sounds louder than it did last season. Catching fatigue early means a planned repair instead of a snapped spring and a door you can’t open.
Here’s what to check, and how to think about it:
- Visual gap test (torsion springs): Look at the coils on the torsion spring above the door. Coils should be tight and evenly spaced. If you can see daylight gaps widening between coils, the spring has lost tension and is on its way to failure.
- Extension springs: Check for a stretched-out appearance and for any sign the safety cable has slipped free. If the spring looks longer and looser than it used to, it’s tired.
- Rust on the wire: In South Florida humidity, rust on the spring wire is common and it does shorten spring life. Treat visible rust as a signal the spring is worth inspecting by a technician at the next opportunity.
- Cycle count: Every full open-and-close is one cycle, and most residential torsion springs are rated for a defined number of cycles from the manufacturer. If your household runs the door four or more times a day, you’re putting more cycles on the springs than a typical household, and fatigue catches up faster.
- Sound and feel: A door that bangs at the top or feels heavy when you lift it by hand has a tired spring. Any of this means stop using the door until it’s checked.
Springs are the most dangerous part of a garage door. A torsion spring under tension can release with serious force, and a torsion bar or cable can move unpredictably. Don’t try to test, tighten, or replace a spring yourself. Our garage door spring repair team handles spring failure as a core specialty, and we’d rather you call for an inspection than take a risk on a spring that’s finally given way.
Opener Maintenance in a Humid Garage
A humid garage stresses the opener as much as it stresses the door. The two failure points we see most in Cutler Bay are fogged photo-eye lenses and moisture creeping into the circuit board. Both are preventable with simple habits. The good news is that most modern openers, whether LiftMaster, Chamberlain, Genie, or a legacy Craftsman, are built to be serviced. The bad news is that humidity finds the vent gaps before you notice anything is wrong.
Here’s what to do:
- Clean the photo-eye lenses monthly. The two small lenses at the bottom of the track on either side of the door collect humidity and dust. Wipe them with a dry microfiber cloth. If the door won’t close and the lens looks fogged, this is almost always the culprit.
- Check for moisture around the motor housing. Any condensation or water staining near the vents is a problem. If you see it, stop using the opener and have it looked at.
- Keep the opener area ventilated. Don’t box the opener in with stored items or insulation. Airflow is what keeps the electronics from sitting in a humid pocket.
- Test the safety reverse monthly. Put an object in the door’s path and confirm it reverses. A door that fails this test needs attention immediately.
- Confirm your wall control and remote respond reliably. Sluggish response that isn’t a battery issue is often a sign the opener’s circuit board is showing the effects of moisture.
If the opener has stopped responding, or your remotes work one day and not the next, we can take a look. Our garage door opener repair service handles LiftMaster, Chamberlain, Genie, and Craftsman units, including smart-home models. And if you’re replacing an older opener, we install products from the brands we know best, and Clopay, Amarr, and Wayne Dalton door combinations work with almost every opener on the market.
Testing Balance and Safety Reverse
Two tests tell you most of what you need to know about your door’s health: the balance test and the safety reverse test. Both can be done in under two minutes, and both should be on your monthly checklist.
Balance test: Disengage the opener with the manual release, then open the door about halfway by hand. Let go. A balanced door will hold position or drift only slightly. A door that drops quickly is out of balance and either has a tired spring or a worn cable. Don’t continue using a door that fails this test; call us.
Safety reverse test: With the door open, place a test object (a two-by-four works) on the ground in the door’s path and close the door with the opener. The door should reverse on contact. If it doesn’t, stop using the door and have it serviced. This is the single most important safety function on a residential door, and a failure here is not something to defer.
When either test fails, the cause is usually something straightforward: a spring that’s lost tension, a photo-eye that’s out of alignment, or a limit switch on the opener that needs adjusting. All of these are things a trained technician can sort out quickly. In our experience in Cutler Bay, the homeowners who run these two tests monthly are the ones who rarely call us for anything bigger than a minor adjustment.
Common Mistakes to Avoid
- Greasing the tracks. Every guide you find will say not to do it, and yet it’s the mistake we see most. Grease traps grit, grit chews up the rollers, and the door ends up chattering. Clean the tracks dry instead.
- Using WD-40 as a lubricant on hinges and rollers. WD-40 is a water displacer, not a long-term lubricant. It’ll make things quiet for a week and leave them bare after that. Use a door-specific lubricant instead.
- Trying to adjust or replace a torsion spring by hand. This is the most dangerous repair on the entire door, and it’s the one we’re called to most often after someone has tried it themselves. Call a trained technician.
- Ignoring the photo-eye lenses until the door won’t close. In a humid Cutler Bay garage, the lenses fog and dust up fast. A weekly wipe prevents the surprise of a door that won’t shut in the rain.
- Skipping the pre-hurricane season hardware check. Wind-load hardware fails quietly. If you wait until a storm is forecast, you’ll be waiting in line with everyone else.
- Treating a heavy-feeling door as a “get used to it” problem. A door that used to lift easily and now doesn’t is telling you something. Ignore it for a few more months and you’ll be calling about a snapped spring instead of an inspection.
- Replacing panels or struts with the wrong parts. Door components are matched to specific panels. A strut that doesn’t fit the load can make a wind-rated door perform worse, not better. Stick with brand-specific parts for Clopay, Amarr, Wayne Dalton, and Raynor doors.
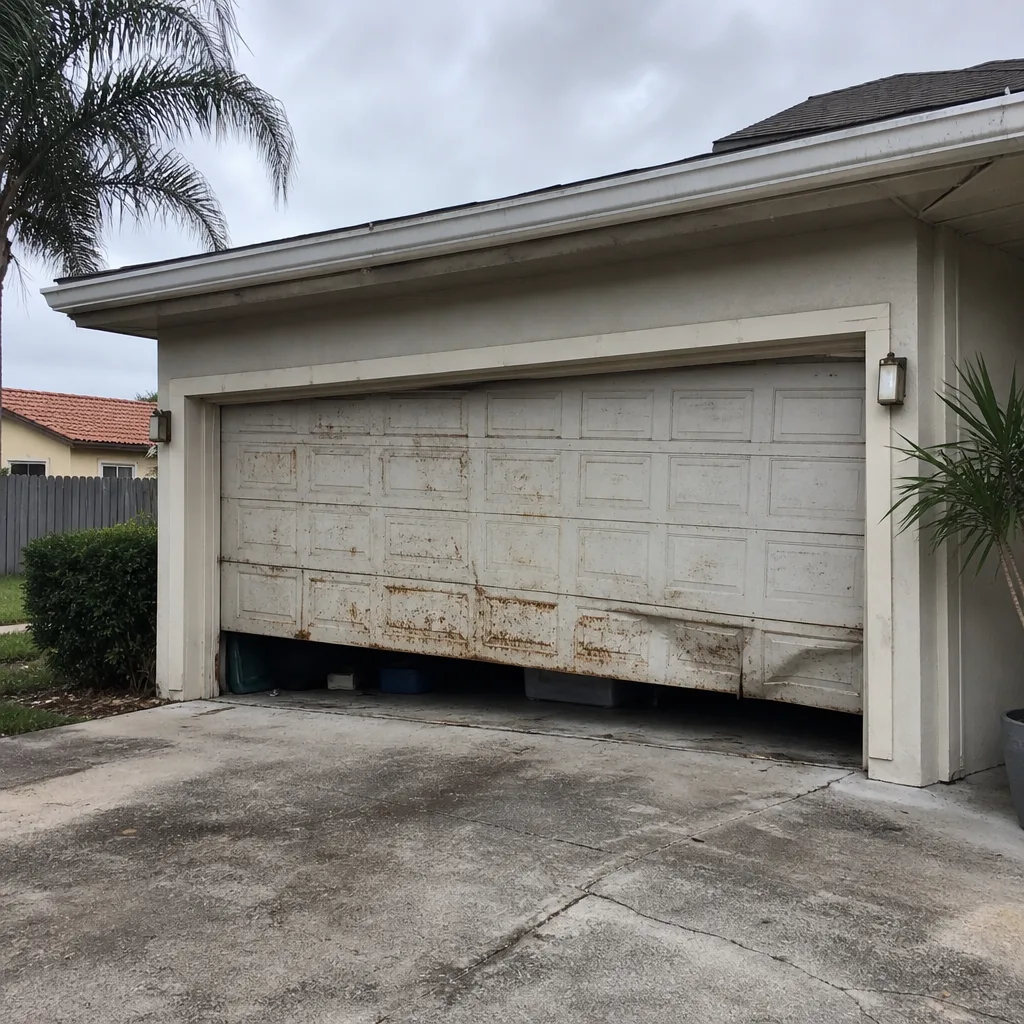
See the difference
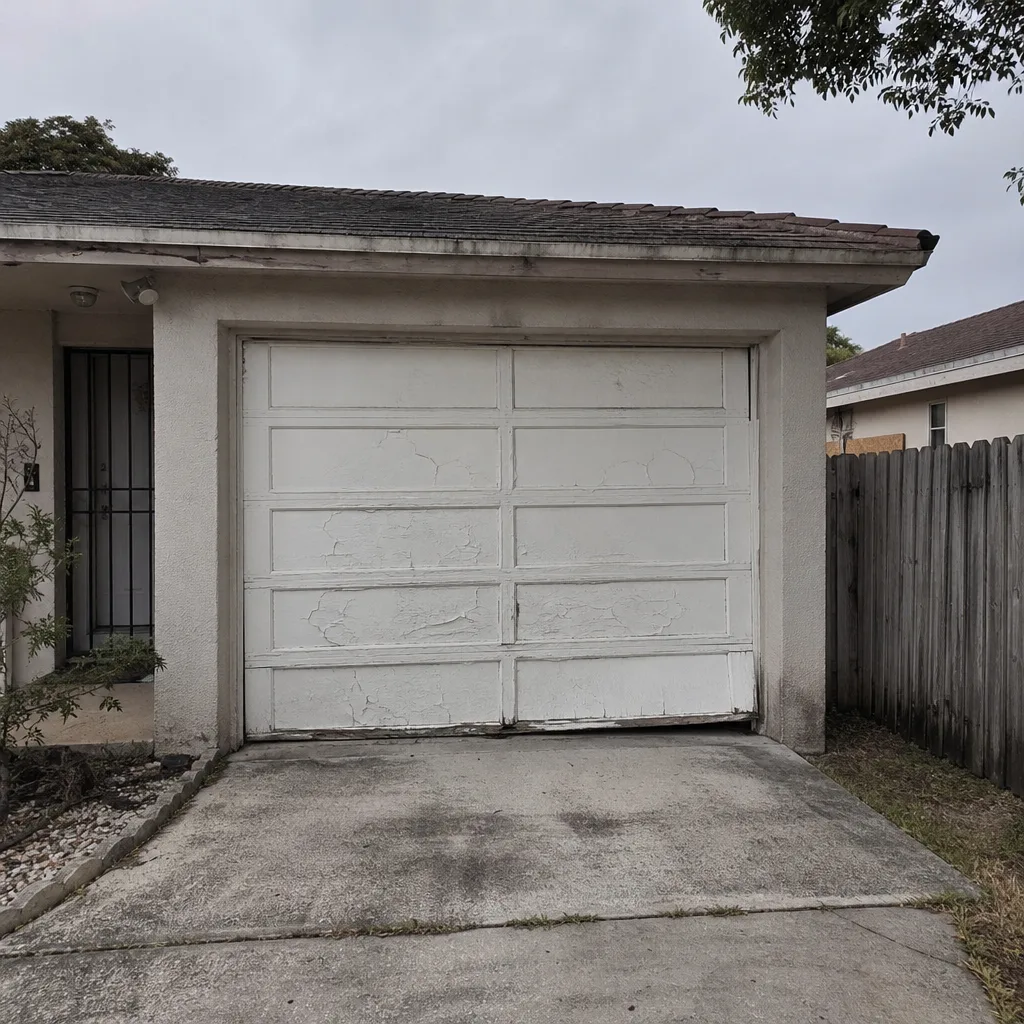 Before
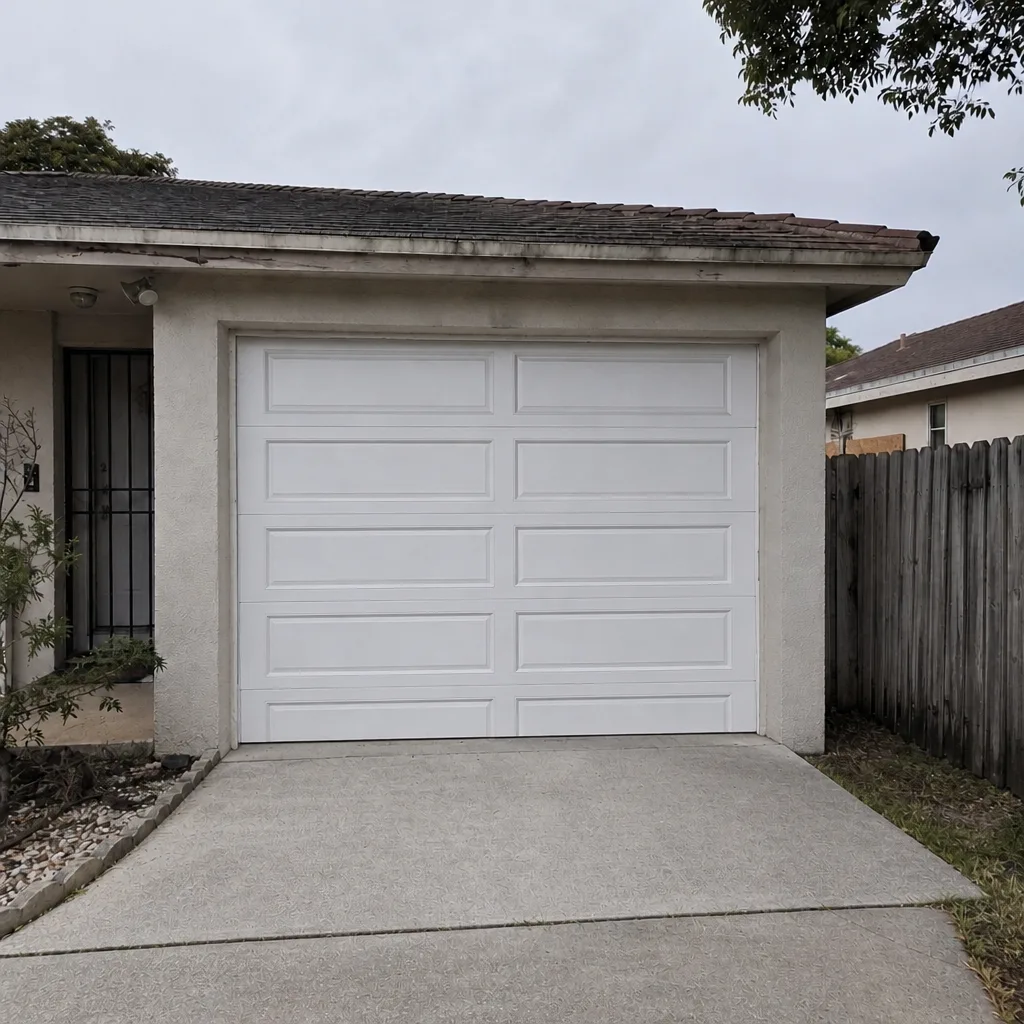 After
 Before
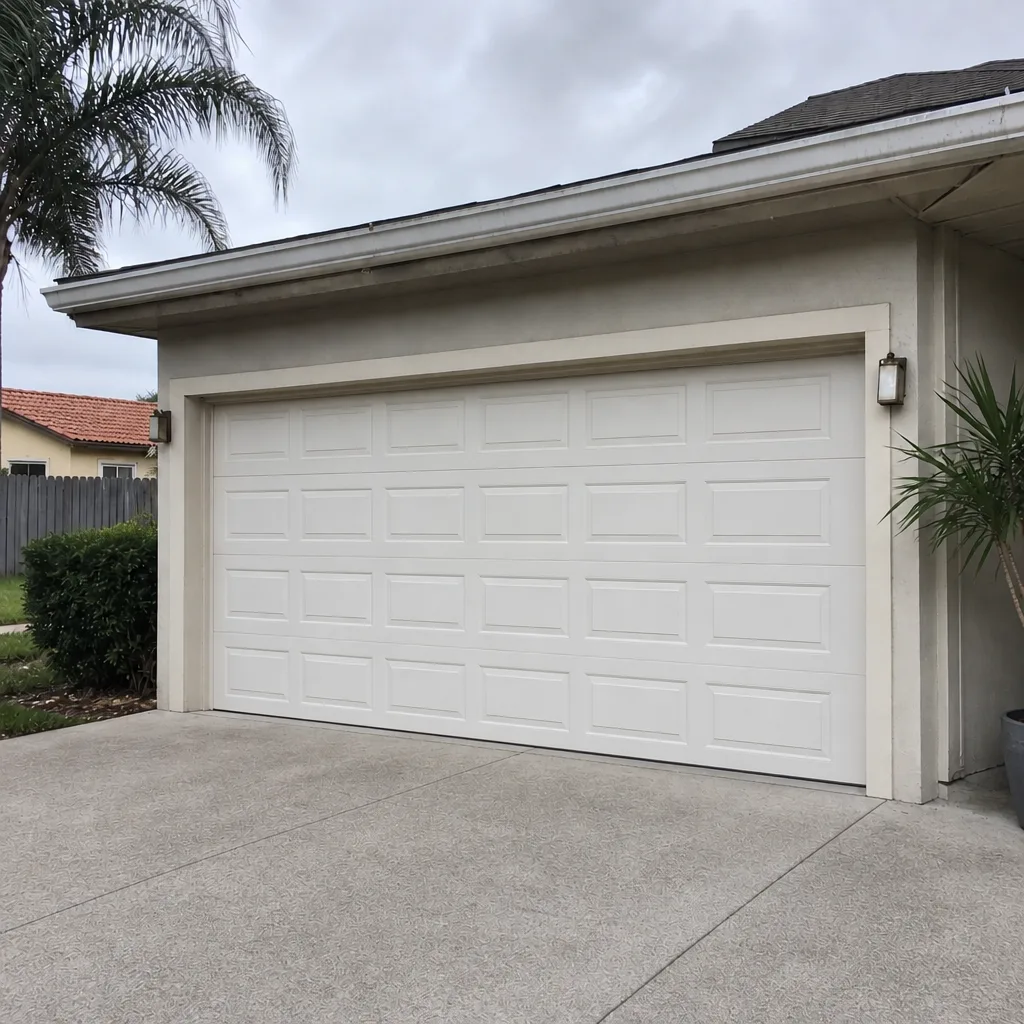 After
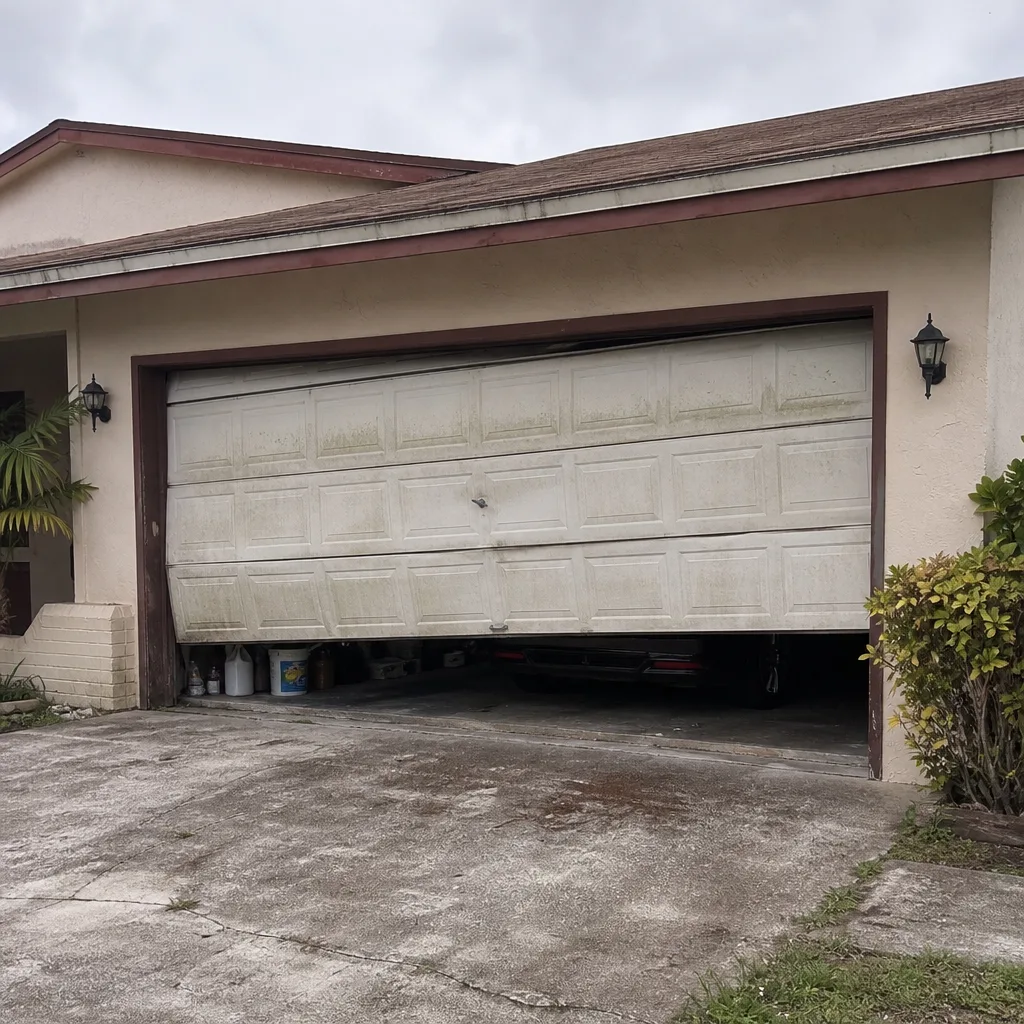 Before
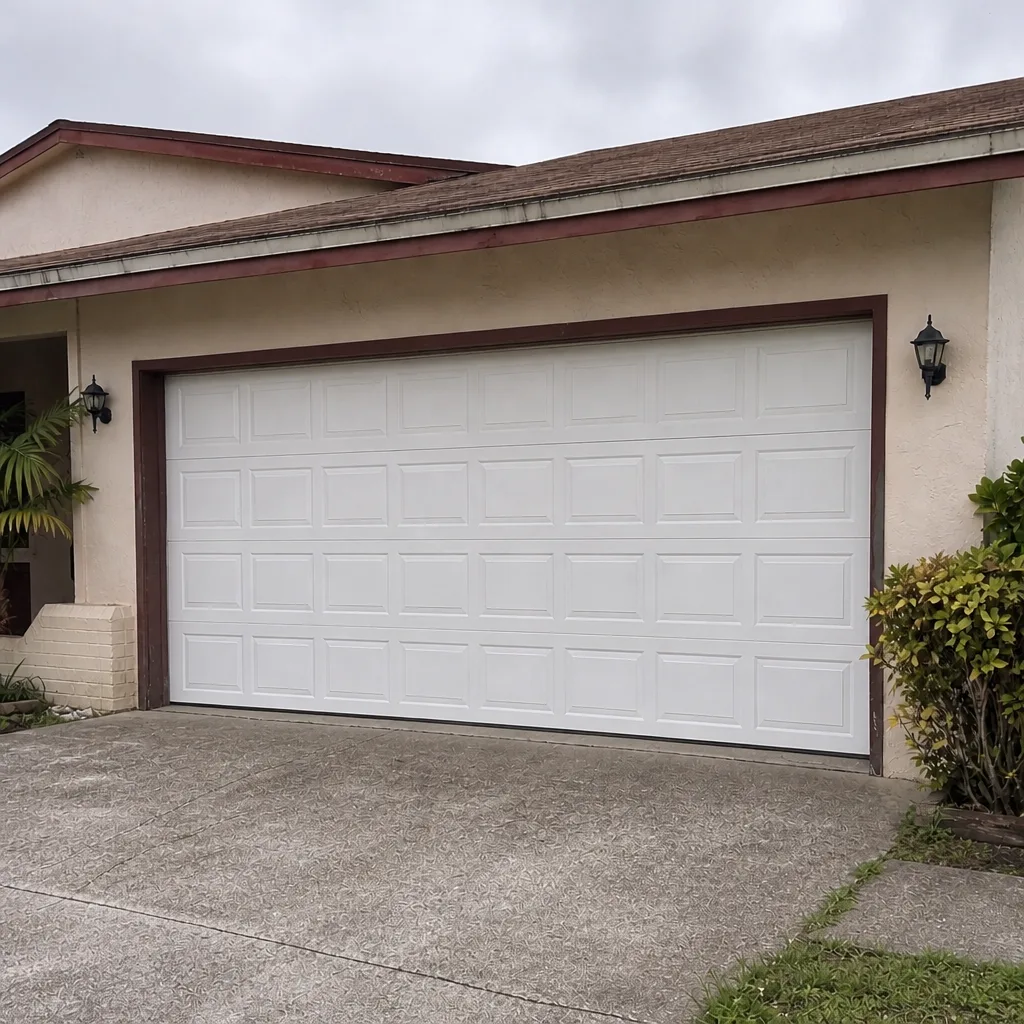 After
When to Call a Professional
Call a professional when the issue involves a broken or fatigued spring, a door that’s clearly out of balance, a bent track, a strut that’s bowing, an opener that won’t respond or shows moisture damage, or any failed safety reverse test. Those are the situations where a trained technician prevents a bigger problem and, in the case of springs and openers, keeps you safe.
Routine lubrication, cleaning the photo eyes, wiping the tracks dry, and turning a screwdriver on a loose hinge are all things you can handle yourself. The line between the two isn’t a judgment call, and it’s worth a call if you’re not sure. Cutler Bay Garage Door Repair Pros offers free estimates in Cutler Bay. When you’re ready, call (877) 492-2550 and we’ll set up a visit.
Frequently Asked Questions
A Cutler Bay garage door should get a monthly five-minute inspection and a full professional service once a year, ideally before hurricane season. The monthly check catches most things early, and the annual visit handles spring wear, balance and safety-reverse testing, and the wind-load hardware inspection.
Humidity plays a part, because it accelerates rust on the spring wire, and rust is a leading cause of spring fatigue. A hot, humid garage adds to the load. Springs fail eventually in any climate, but South Florida conditions make early fatigue more common, so annual inspection is worth it.
No. A torsion spring is under high tension, and adjusting or replacing it is the single most dangerous part of garage door work. Trained technicians handle this safely. If a spring has broken or looks fatigued, call us instead of reaching for a tool.
A garage-door-specific spray lubricant applied to hinges, roller stems, and pivot points works best. Avoid white lithium grease and WD-40 because both break down quickly in heat and humidity and leave the moving parts unprotected. Re-apply every three to four months.
Yes. Test the manual release, check the wind-load hardware, inspect the strut integrity, verify panel alignment, and confirm the safety reverse test still works. If anything is bent, loose, or out of balance, call us for an inspection before the season starts.
Yes. We work on garage doors and openers from LiftMaster, Chamberlain, Genie, Clopay, Amarr, Wayne Dalton, Craftsman, and Raynor. Our technicians have up to 14 years of experience and are familiar with the specific maintenance needs of each brand.
The Bottom Line
Garage door maintenance in Cutler Bay comes down to three seasonally sequenced habits: a monthly five-minute inspection focused on hinges, brackets, and spring appearance; a lubrication routine built for heat and humidity rather than a dry climate; and a pre-hurricane season pass on the manual release, wind-load hardware, and safety reverse test. Everything else folds into those three. Skip the salt-air checks, skip the storm-season prep, skip the humidity-aware lubricants, and you’ll end up calling for a repair that a few minutes a month would have prevented. When you need a hand, or you’d rather have a trained technician run the whole checklist, Cutler Bay Garage Door Repair Pros is one call away. Reach us at (877) 492-2550 for a free estimate.
Written by the team at Cutler Bay Garage Door Repair Pros.